How to Install Shade Sails – Tips
Tips for Installing Shade Sails
Just a few years ago, the use of shade sails was limited to the school, colleges, parks and mostly commercial area, but now it’s become one of the most important part of the house and office, because its provide many benefits like protection from UV rays, its offer great ventilation, cooling and aesthetic value, in case if you have purchased a shade sail of waterproof material then it provides resistance from water as well. As compared to other benefits of shade sails, the most important is protection from UV rays of the sun because it causes many skin diseases including skin cancer. Other than that, shade sails also add unparalleled appearance to residential and commercial area, especially when you purchase shade sails which match with the color of the building.
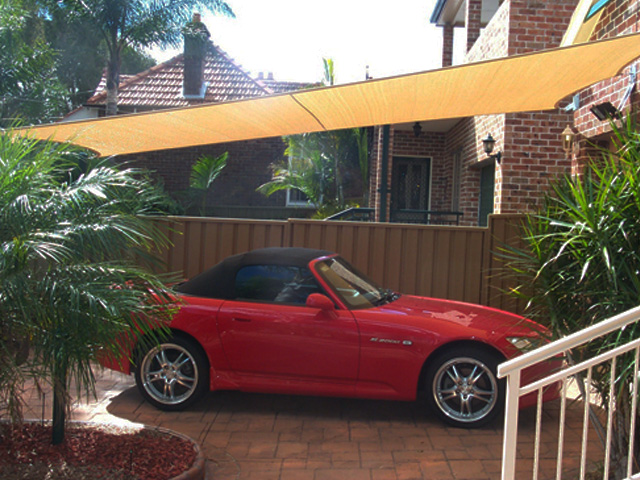
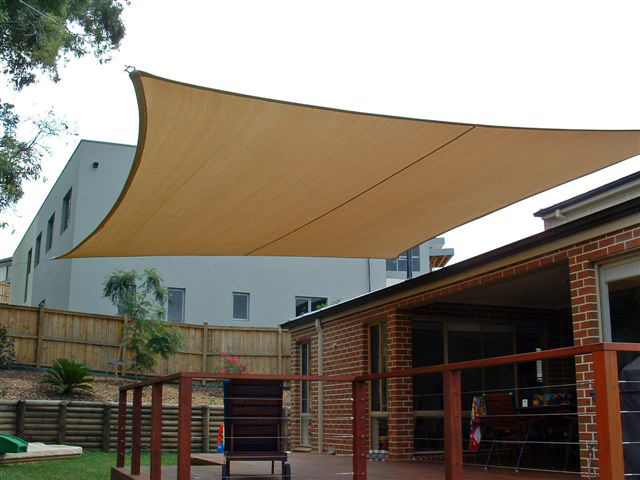
In the country like Australia, it is important to have shade sails to save yourself from harmful UV rays in summer, it is very hot and you cannot enjoy your summer activities in garden, pool, deck, roof and the parking area until you have shade sails to stop the heat of summer. The market is full with different style, size and types of shade sails. They are easy to install, which means that you did not require a professional to install shade sails at your place, whether its commercial area or residential area. Following I am sharing with you the tutorial How to install shade sails, in case if you have not installed shade sails before, I am sure this tutorial gone help you to learn how to install shade sails without having an expert on site.

Step 1 Planning:
Before we purchase shade sails, we need to plan that where did we install it and what is the purpose of installing shade sails. These have been installed for many purposes, for example, some people install over the pool to get protection from UV rays during swimming, some people install in their parking area to keep the area cool while some people install to shade the eating area to enjoy their food outside in summer etc. Planning with help you to decide:
- The location where the sail need to be installed
- The size and type of shade sail to purchase
- What type of shape would be perfect to purchase etc.
At the planning stage, you need to also consider the direction of sun and wind speed and availability of place to fix the shade sail structure.
Step 2 Preparation:
Once you have decided what type and size of sail you have to purchase, the other thing is to purchase one and prepare the shade sail. You did not require to purchase some special tools and equipments to install your shade sail, the tools available in the toolkit like the hammer, wrench and pliers are enough for the installation of sail.
Mark the area with the help of a pencil to know where you have to dig the holes. You need to mark 1 corner of the area of one side of the sail, for example, if you have a triangle sail, then you will mark three sides while four sides of square shade sail and so one. Make sure, you know the length of your sail and don’t make more or less than the total size of sail.

Step 3 Installation:
Dill the holes at marking area. Consider to dig a deep hole to get a better grip for mounts and nails. You can dig holes with the help of a drill machine or hammer, its depend that where are you digging the holes. For wood, the hammer is enough while you need to drill machine if you have to dig solid material.
Now fix the turnbuckle which has already attached to your sail. Move points to point and tension your turnbuckles as its required.
If you looking to buy Shade Sail or Shade Sails Accessories Click Here


